
How to set a counter
A sign controller can have up to 10 counters (0 thru 9).
In this example we will make a counter that counts down from 48 hours.
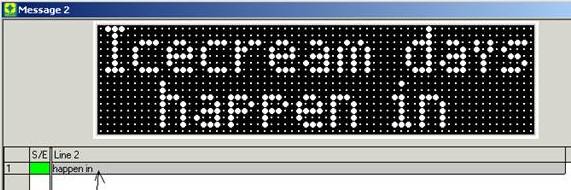
“Icecream days happen in 48 hrs”
1. Create a new message that you would like the counter to be displayed in.
2. Double click in the location of that message that you would like the counter to occur. The cursor will be flashing.
3. Click on “Edit” then “Pictorials”.
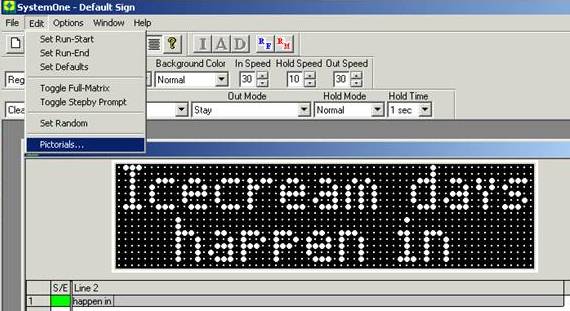
4. In the Dialog box, scroll down and select “Counters” and click “OK”

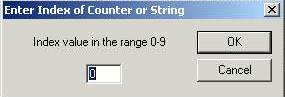
5. Select the Index value that you would like to use. The V4 Sign Controller can have up to 10 counters (0 thru 9). The Index Value is the counter that we will program the V4 Sign Controller to use (counter is being save as the name 0). Usually the first value is 0. Then click “OK”.
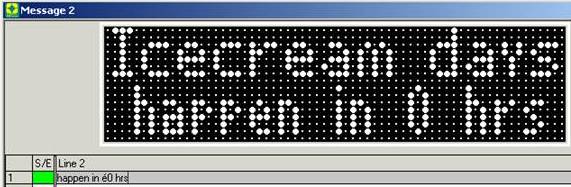
6. The counter value will appear as é0 (if using counter value of 0). This will tell the V4 Sign Controller to use the counter named 0 in this message.
7. Save the message and send it the sign. How to send a Quick File or Schedule.
8. If you are NOT counting days or counting down to a time skip to step number 12.
9.
10.
11.
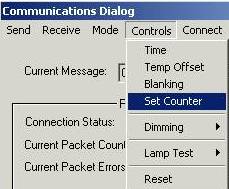
12. In the Communications window click on “Controls” the click on “Set Counter”.
13. The “Set Counter” window should appear.
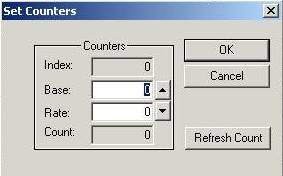
Index:
This is the name of the counter (index value) you used in the message you created. In our example we used 0.
Base:
This is the starting value of your counter. In our example we will start at 48.
Rate:
This is the rate in which the counter should change. In our example we are going to count down ever hour so we would set the rate to -1
Count up every hour = 1
Count up every minute = 60
Count up every second = 3600
Count up every day = 0.041667
Count up every week = 0.005952
Count up every month = 0.001488
Count down every hour = -1
Count down every minute = -60
Count down every second = -3600
Count down every day = -0.041667
Count down every week = -0.005952
Count down every month = -0.001488
Count:
This is the current count (value of the counter currently). In our example we are counting down from 48 to 0, so this will change every hour until it reaches 0.
14. If you are setting more that one counter (index value), arrow up or down to select the next counter that you would like to set. Then set the Base and Rate for that counter.
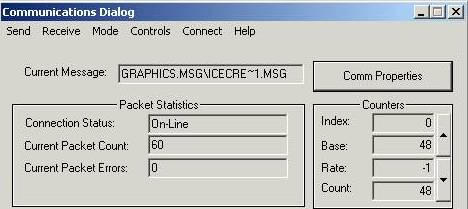
15. Once you have the counters set, click “OK”. You then will notice in the Communications window under the counters section the values are filled in. If you use more than one counter you are able to arrow up or down to scroll through the different counters.
16. Close Communications Dialog window.